When it comes to transforming dull, stained, or damaged concrete into a clean, durable, and low-maintenance surface, few solutions match the performance of an epoxy floor installation. Whether you’re upgrading a garage, basement, or commercial area, epoxy offers a seamless and long-lasting finish that stands up to daily use, chemicals, and heavy traffic.
But what exactly happens during the installation process? Knowing what to expect—from surface prep to curing—can help you plan, avoid downtime surprises, and ensure the best long-term results.
In this guide, we’ll walk through each stage of a professional epoxy floor installation, so you know exactly how the process works and why each step matters.
Initial Surface Evaluation and Preparation
Every epoxy floor installation begins with an in-depth assessment of the existing concrete surface. The installer checks for:
- Cracks or structural issues
- Moisture levels (using vapor emission testing)
- Old coatings, paint, or sealants
- Surface contamination from oils, grease, or chemicals
Once assessed, the floor must be mechanically prepped—usually by diamond grinding or shot blasting. This step:
- Opens the pores of the concrete
- Removes surface contaminants
- Creates a rough profile for optimal epoxy adhesion
Proper preparation is critical. Skipping or rushing this stage can lead to premature coating failure, bubbling, or peeling.
Concrete Repairs and Joint Work
After grinding, any cracks, holes, or surface imperfections are repaired using compatible patching compounds. Control joints may be cleaned and filled depending on the system being applied and the desired finish.
The goal is to create a smooth, structurally sound surface that allows the epoxy to form a tight bond across the entire area.
Primer Application (If Required)
Some epoxy systems include a primer coat, which enhances adhesion and prevents bubbling caused by off-gassing from the concrete. The primer is rolled on and allowed to cure before moving to the main epoxy layer.
In some systems—especially in high-moisture environments like basements—a moisture-mitigating primer is essential.
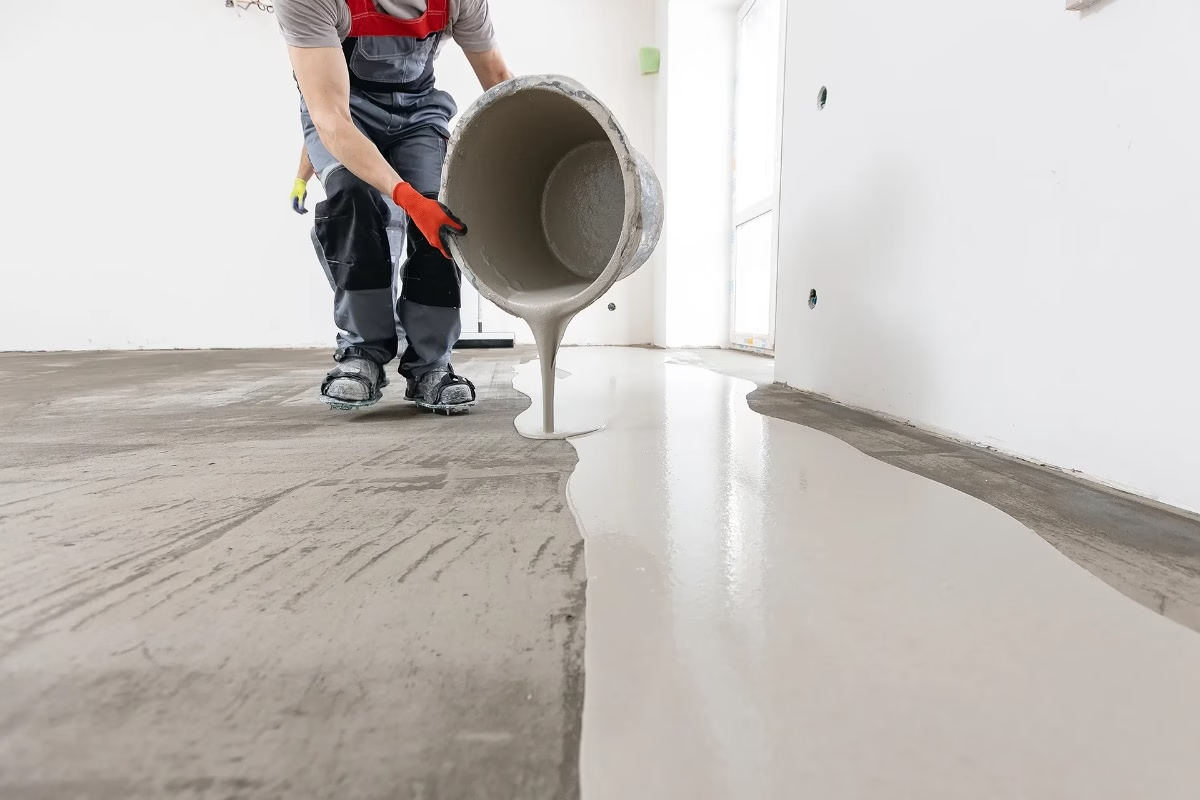
Base Coat Application
Once the surface is ready, the epoxy base coat is mixed and applied. This coat determines the floor’s color and visual foundation. Installers use rollers or squeegees to spread the epoxy evenly across the surface.
Depending on the design, this layer might:
- Be a solid color
- Serve as the base for flake or quartz broadcast
- Be tinted for use in metallic finishes
Timing and technique are critical here—epoxy begins to cure quickly, so installers must work with precision to avoid streaks or inconsistencies.
Adding Decorative Flakes or Metallic Pigments (Optional)
If the floor includes decorative elements like vinyl flakes or metallic pigments, they’re applied while the base coat is still wet:
- Flakes are broadcast by hand to provide texture, visual depth, and slip resistance.
- Metallic pigments are swirled into the epoxy for a unique, high-end appearance that mimics stone or marble.
Full broadcast systems (completely covering the base coat in flakes) are common in garages and commercial spaces, while partial or metallic designs are more decorative.
Scraping and Vacuuming (For Flake Systems)
After curing, installers scrape the surface to remove any sharp or loose flakes and ensure a level, uniform texture. The floor is then vacuumed clean to remove dust and debris.
This step is essential to achieve a smooth final finish and prepare the surface for topcoat application.
Clear Topcoat Application
The final step in epoxy floor installation is applying a protective clear topcoat, typically made from polyurethane or polyaspartic material. This layer:
- Seals in flakes or pigments
- Adds UV protection and chemical resistance
- Enhances gloss and smoothness
- Improves durability and stain resistance
The topcoat also determines the floor’s final texture—satin, gloss, or matte—and can include anti-slip additives if required.
Curing Time and Return to Service
Cure time depends on temperature, humidity, and the type of system used. In general:
- Light foot traffic is allowed after 24 hours
- Vehicle traffic can resume after 48–72 hours
Full chemical cure can take up to 7 days, during which time it’s best to avoid harsh cleaners or chemicals.
Installers will typically walk through post-installation care with you to ensure longevity and ease of maintenance.
An epoxy floor installation is a multi-step process that blends technical precision with visual customization. From surface prep and repair to base coats and topcoats, each phase is designed to build a seamless, high-performance surface that lasts.
Whether you’re upgrading a garage, basement, or commercial floor, working with professionals ensures every layer is applied correctly—and the end result is a clean, attractive, and durable surface that stands up to daily life. Understanding what to expect at each stage makes the process smoother and ensures your investment delivers the quality and appearance you’re looking for.