Whether you’re upgrading a garage, commercial space, or showroom, an epoxy flake floor offers one of the most durable, visually striking, and slip-resistant solutions available. These multi-layer systems blend performance with design, using vinyl or polymer flakes embedded in a resin base to create texture, depth, and custom color combinations.
But how exactly is an epoxy flake floor installed? It’s a precise, multi-step process that requires the right surface preparation, products, and timing to ensure a seamless and long-lasting finish.
In this guide, we walk through the professional step-by-step installation process of an epoxy flake floor—from raw concrete to a fully cured, high-performance surface.
Step 1: Inspect and Test the Concrete Surface
Before any coatings can be applied, the concrete slab must be evaluated. Installers check for:
- Moisture levels
- Structural cracks or movement
- Previous coatings, sealants, or contamination
Moisture testing is critical—trapped vapor can cause bubbling, peeling, or delamination in resin-based systems. If the concrete is unstable or excessively damaged, repairs or resurfacing may be needed before proceeding.
Step 2: Surface Preparation
Proper surface prep is the foundation of a successful epoxy flake floor. Professionals use mechanical grinding (typically with a diamond grinder) to:
- Remove existing coatings or residues
- Open the pores of the concrete
- Create a rough profile for the epoxy to bond to
This step also involves vacuuming and cleaning the slab thoroughly to remove all dust and debris. A clean, profiled surface ensures maximum adhesion and reduces the risk of failure.
If there are any surface cracks or pits, they are repaired using epoxy-based fillers and smoothed to ensure uniformity.
Step 3: Apply the Base Coat
Once the surface is prepared, installers mix and apply the epoxy base coat. This layer is typically tinted to match or contrast with the flake blend being used and is rolled onto the floor using specialized tools to ensure an even application.
The epoxy acts as the adhesive layer for the flakes. Timing is important—flakes must be applied while the base coat is still wet and tacky to ensure they embed properly and bond fully.
Step 4: Broadcast the Flakes
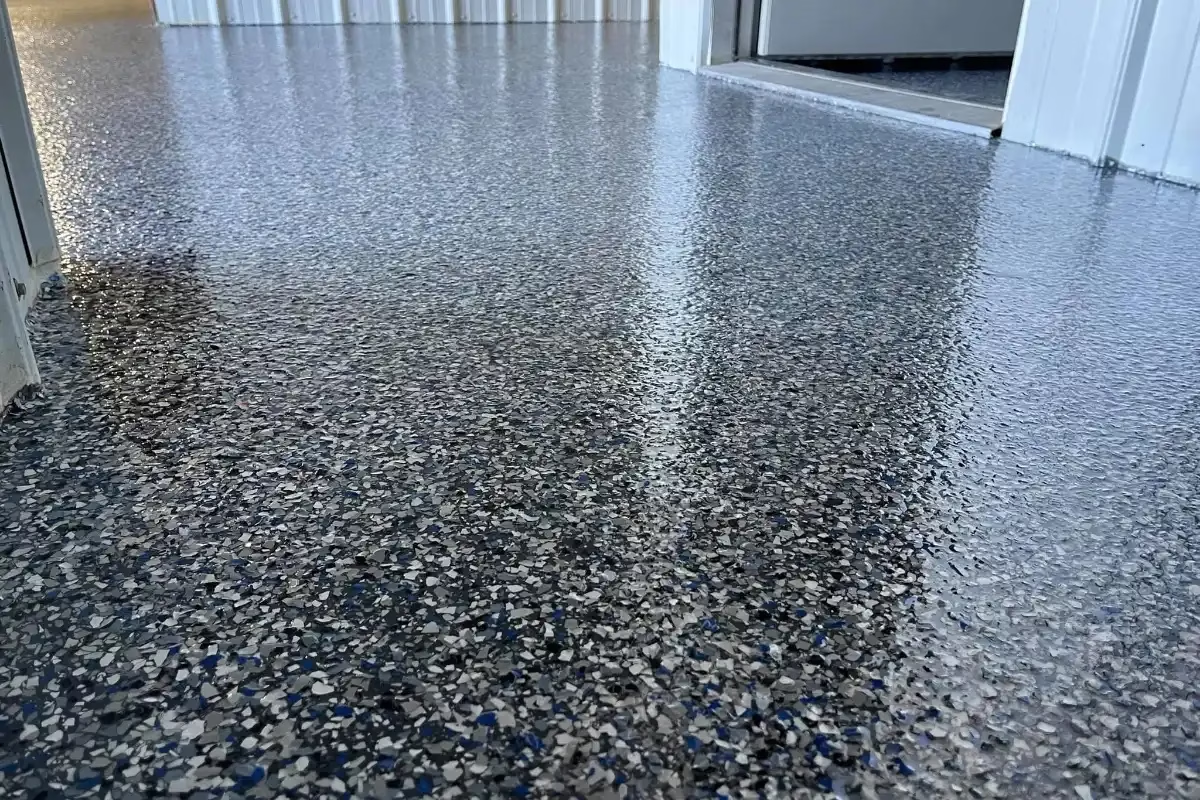
Next, decorative vinyl flakes are broadcast—or thrown—by hand across the wet base coat. Installers typically aim for full broadcast coverage, meaning the entire surface is covered densely with flakes until the epoxy is no longer visible.
Benefits of full broadcast flake application:
- Adds slip resistance
- Hides imperfections
- Provides a stone-like texture
- Enhances design with customizable color blends
After broadcasting, the floor is left to cure—usually overnight or according to the manufacturer’s specifications.
Step 5: Scrape and Clean the Surface
Once the base coat has cured, the excess flakes that didn’t bond are scraped off using metal floor blades or specialized tools. This step:
- Removes loose or sharp flakes
- Levels out the surface
- Prepares the floor for topcoat application
After scraping, the floor is vacuumed again to remove all remaining flake debris and dust.
Step 6: Apply the Clear Topcoat
The final step is applying a clear protective topcoat, typically made from polyaspartic or polyurethane. This sealer locks the flakes in place and provides long-term protection against:
- Abrasion
- Chemicals
- UV exposure
- Moisture
It also gives the floor its final finish—usually glossy, though satin or matte finishes are also available.
The topcoat creates a seamless, durable surface that is:
- Easy to clean
- Slip-resistant
- Resistant to hot tire pickup and staining
Depending on the product used, the floor may be ready for light foot traffic in a few hours and full use (including vehicles) within 24–48 hours.
Step 7: Curing and Final Inspection
Even though polyaspartic and some epoxy systems cure quickly, full chemical curing can continue over several days. During this time, the surface should be protected from water, debris, or chemical exposure.
Installers will typically do a final walkthrough to ensure the finish is smooth, consistent, and defect-free. If desired, additional customization such as color borders or safety striping may also be added at this stage.
Installing an epoxy flake floor is a multi-phase process that combines technical precision with design flexibility. From grinding and repairs to broadcasting flakes and sealing with a clear topcoat, each step plays a critical role in the floor’s durability and appearance.
For homeowners and business owners looking for a surface that’s as functional as it is beautiful, flake floors offer a high-performance solution. With proper installation by experienced professionals, your epoxy flake floor will stand up to traffic, spills, and wear—while looking sharp for years to come.